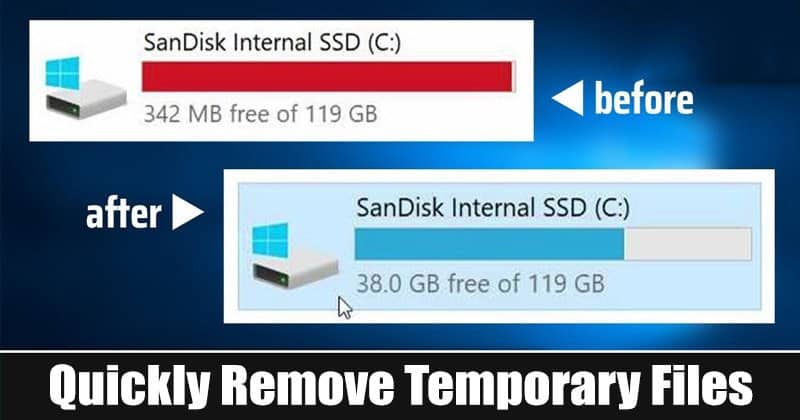
While exploring Windows 10, we found another best storage management feature. The new feature allows you to remove temporary files stored on the operating system quickly. By default, the temporary files are stored in what’s called the Windows Temp Folder. Although it takes a few clicks to locate the Temp folder, Windows 10 offers you another method to quickly access the temp files. Cleaning out the temp folder in Windows 10 usually takes less than a minute. However, it could take longer depending on how extensive the temp file collection is. In this article, we will share a detailed guide on how to remove Windows temporary files quickly. Also Read: 10 Best CCleaner Alternatives For Windows 10
Steps to Quickly Remove Temporary Files in Windows 10 PC
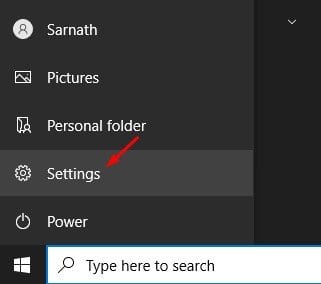
Note: You will be able to free up disk space as much as 8GB to 10GB in size. Before cleaning up the files, make sure to review the file categories. Some of the files may not be reclaimable. Step 1. First of all, click on the Windows button and click on ‘Settings.’
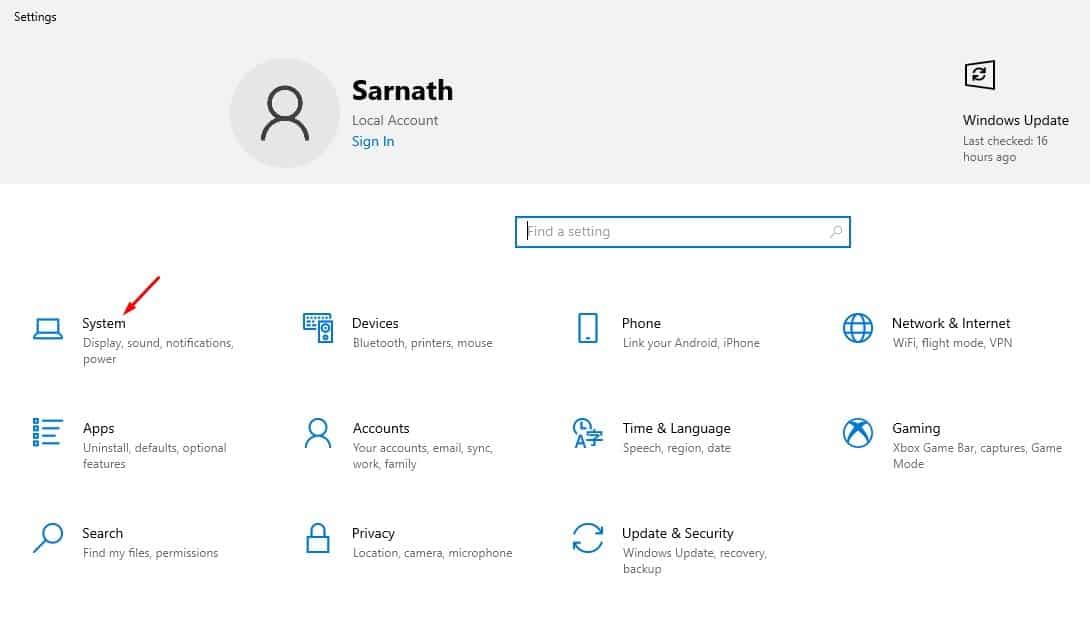
Step 2. Now on the Settings page, click on the ‘System’ option.
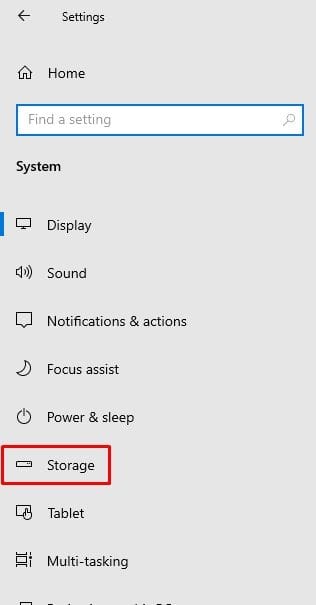
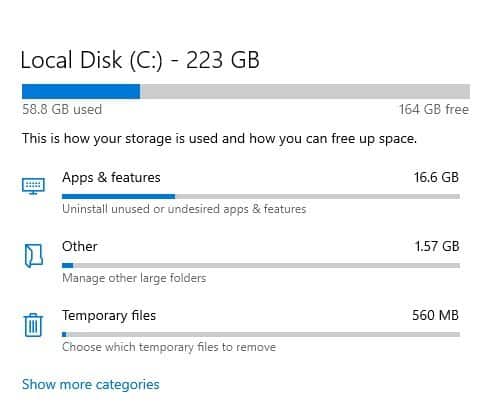
Step 3. On the left pane, click on the ‘Storage’ option.
Step 4. The Storage section will show you a list of file categories. Click on the ‘Temporary files’ option.
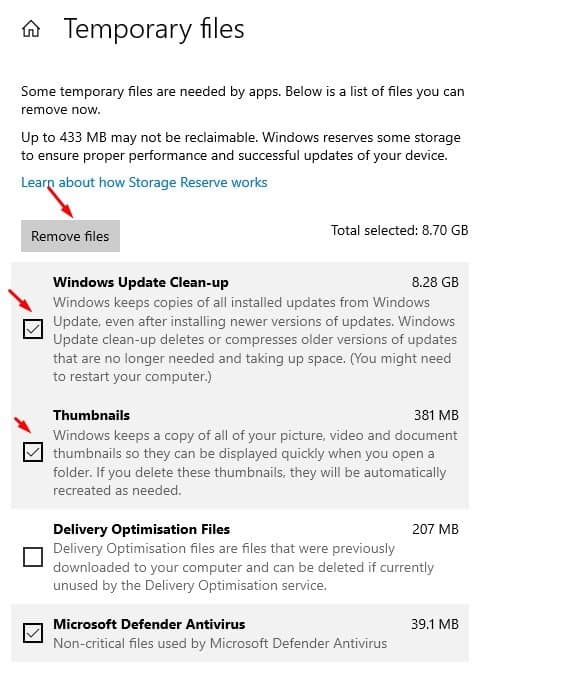
Step 5. Now Windows 10 will list all temporary files that you can remove now. You can free up to 10GB of file size just by removing the temporary files. Just select the file types and click on the ‘Remove now’ button.
That’s it! You are done. This is how you can remove temporary files on Windows 10 computer. This is by far the easiest way to free up disk space on Windows 10 operating system. So, this article is all about how to remove temporary files on Windows 10 computer. I hope this article helped you! Please share it with your friends also. If you have any doubts related to this, let us know in the comment box below. Type: %temp% and press enter key Temp files folder will open Select all and press shift+delete button All temp files will be deleted Thats it :p
Δ
