WiFi dead spots could be anywhere. If you have a weak wifi signal, it won’t be termed as ‘Dead Zone’. WiFi dead zones are the areas where your WiFi signals are supposed to be covered by WiFi, but they can’t. Wireless dead zones are common things, especially if you live in a densely populated area. So, whatever might be the cause, we have decided to share a few best methods to eliminate WiFi dead spots in this article. Also read: How To Create WiFi Hotspot In Windows 10/11
10 Methods to Eliminate WiFi Deadspots with These Simple Steps
Not only WiFi dead spots, but these methods will also help you get rid of various WiFi connectivity-related problems like a low signal, low internet speed, etc. So, let’s check out how to eliminate WiFi dead spots.
1. Find the Problem Areas
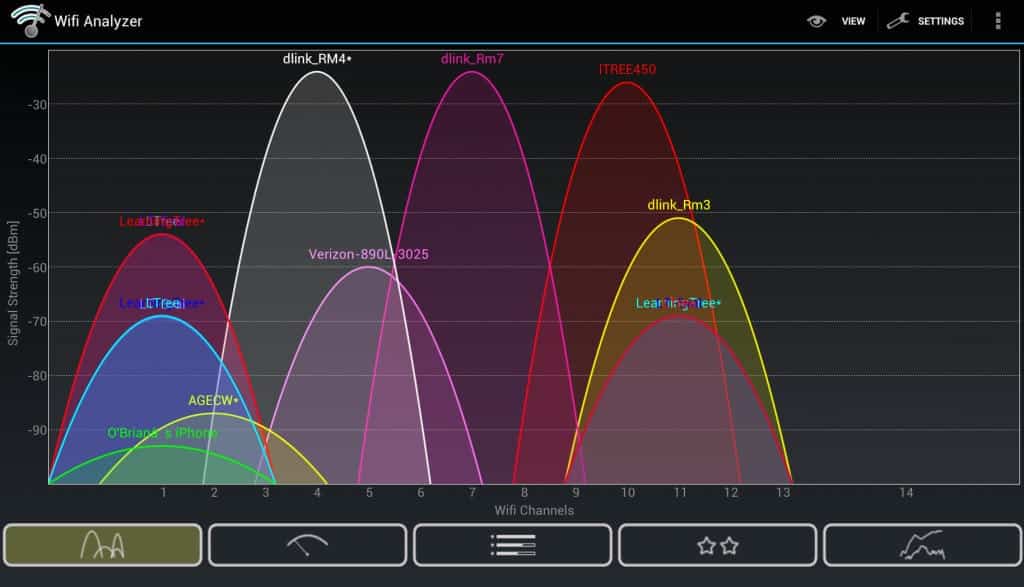
Well, before trying to eliminate the WiFi Deadspots, it’s essential to know the problematic areas. You don’t need any software to identify the dead spots. Just pick up the smartphone, connect with the wireless network and walk around the house. You need to pay close attention to the WiFi signal indicator of your smartphone. If the WiFi signal strength drops to zero, then you have just discovered a dead zone. Alternatively, you can use the WiFi Analyzer app on your Android smartphone to know detailed information about the WiFi signal strength. WiFi Analyzer for Android also shows the frequency of other surrounding networks as well.
2. Move The Router To The Central Location
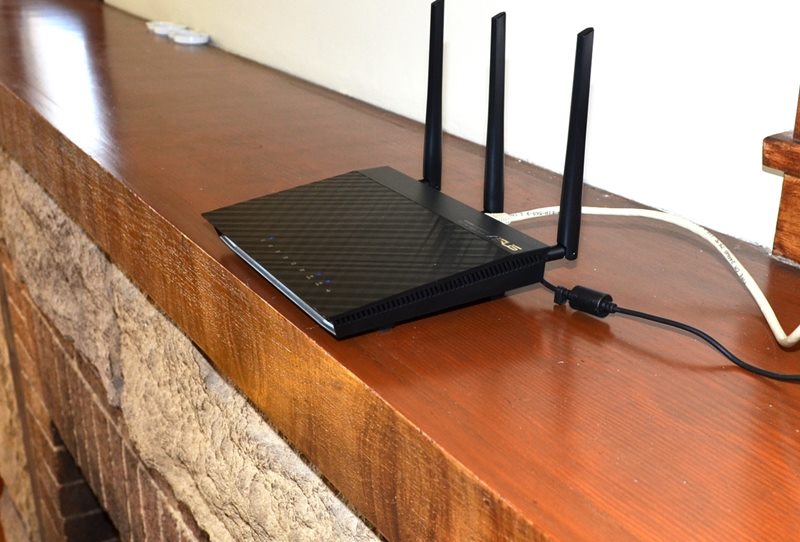
If your router is in one corner of your office or house, and your phone is not receiving the signal exactly in the opposite corner, then it’s not a dead zone. So, in that case, you need to place your Router in the Central location. Always try to position the router in the central location of your house, apartment, or office. Once done, check whether your device is still getting a poor WiFi signal or not.
3. Use The Least Congested Wireless Channel
Well, if you are living in a densely populated area, then wireless networks can impact speeds. Most of the new WiFi routers automatically switch to the least congested channel, but many cheap routers will use the predefined channel, even if it isn’t right. You can use Android apps like WiFi analyzer to identify the least congested wireless channel for your WiFi network. Once done, you can change the settings on your router to eliminate the dead spots.
4. Check Router Position
Sometimes, when the router sits between any electronic device, it tends to behave so that the signal gets restricted from some portion of the area. As a result, users end up getting poor or no signal at all. So, If you are also facing any dead spot, try to alter your WiFi router’s positioning and place it away from any electronic device. WiFi routers need to be free from electronic equipment, especially those that depend on radio signals.
5. Update Hardware and Firmware
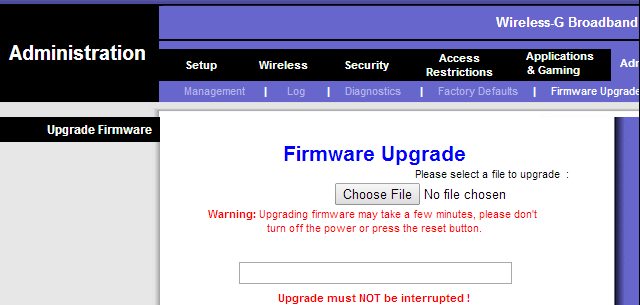
Changing the Router or any WiFi-related hardware that has been too old could be the great thing that you could do to ensure better performance for the network connection. You should update the router as well as any wireless adapter. This could be done by checking the manufacturers of the hardware and then asking for their help. To update the Wireless adapter, follow our article – How To Fix Problem with Wireless Adapter or Access Point Error on Windows
6. Use Wifi Extender
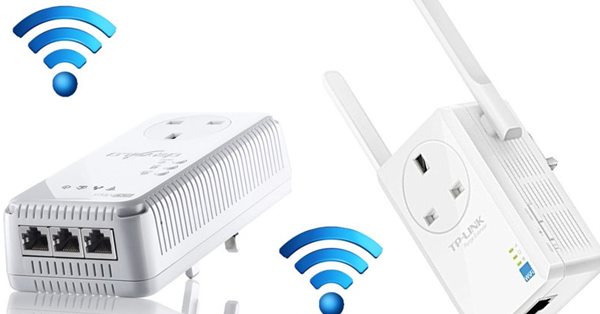
You can use the WiFi extenders that are the devices that could help you to widen the WiFi connection signal. WiFi extenders act as a middle between your WiFi router and your device. It first receives the signal from the Router and then extends it to the device. If you find any dead spot in between the limit area of your WiFi connection, you could eliminate it by using the WiFi extenders.
7. USB Adapter
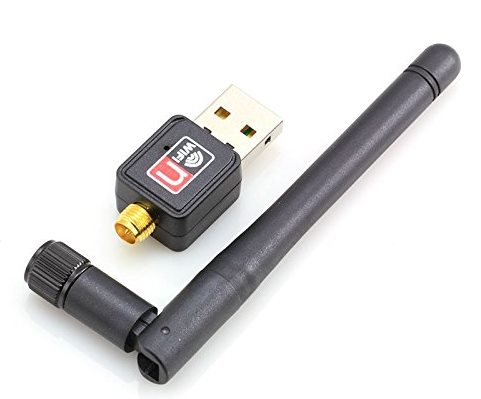
Some old computers or router doesn’t have an antenna. For example, laptop users have a built-in WiFi on the motherboard, but the WiFi doesn’t have an antenna. So, if you are getting a weak wifi signal on the laptop, you could purchase a USB adapter. This device performs the same job as PCI-E or built-in adapter, except that they plug into a USB port.
8. Alter Router Antenna
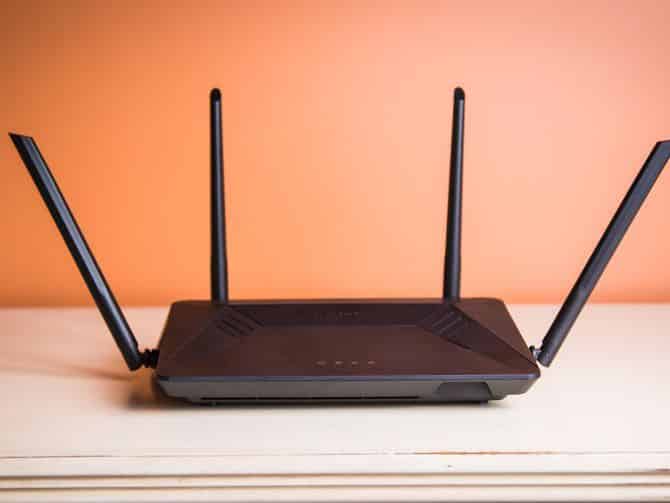
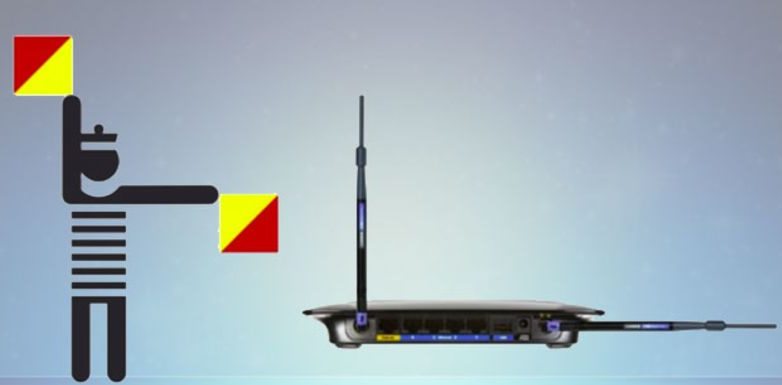
If the Router you are using has an extended Antenna that can be moved in either direction, then try to set up the direction of the antenna in such a way that you get up most signal strength throughout. For example, the best position for the antenna could be standing erect in the vertical position as this also does not block it from the electrical waves inside the router or other devices.
9. Use Ethernet Connection
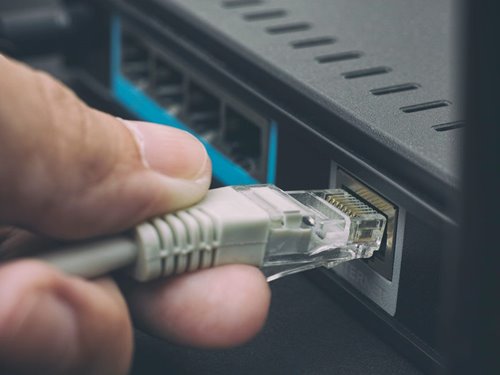
Well, if your PC/Laptop and router are close enough, you can rely on Ethernet for internet connection. In this way, you would never need to worry about the WiFi signal dropping again. Compared to WiFi connectivity, Ethernet (Wired) internet connection offers better speed and stability. So, you can connect the two using Ethernet and never worry about the WiFi dead spots. So, these are some of the best methods to eliminate WiFi dead spots. I hope this article helped you! Please share it with your friends also. If you have any doubts related to this, let us know in the comment box below.
Δ
